Showing posts with label collagraph print. Show all posts

Sunday, 7 July 2024

Tiger Sleeping Collagraph Print


Printing a "Tiger Sleeping" Collagraph Print!


I thought it was about time I started editioning this print first started back in 2021! About a month after I proofed this print I ended up in hospital for three days which led to major mobility problems and I couldn't do any printmaking for over two years, so I think I have a good excuse for not editioning him yet!


First of all I cover the collagraph printing plate in Caligo Safewash blue/black etching ink. Then this is wiped off with newspaper and tissue paper. This leaves the ink in all the fine textures of the printing plate but any shiny surfaces are wiped clean of ink.


This is a two colour collagraph print but it is printed all in one go through the printing press. The orange colour is added using a technique called a la poupĂ©e, meaning "with a doll", which refers to the wad of fabric, shaped like a ball that is used to apply the ink in selected placesI use a small stencil to mask off anywhere I don't want the orange ink to go and the ink is applied by a small dabber. 


Tiger 'Sleeping print hot off my etching press!


Many more tiger prints to come!

Clare x 


Sunday, 28 April 2024

Experimental Printmaking!


I've been doing a little bit of experimental printmaking! I've been using four collagraph printing plates and printing them on top of each other to create lots of texture and aging, its been a very interesting process and the most printing plates I've ever used in one go!

I wanted to add a little extra to my two plate collagraph image below of a ruined priory so I made a couple more crackle printing plates to print on top of it.

Here are all of the four printing plates inked up and ready for the experimentation to begin!

I printed them through the etching press one by one, starting with the black image of the ruined priory, trapping the paper each time under the roller so that I could keep the printing plates in the correct position every printing.


There was some very interesting results produced, one completely obscured the main priory print so I didn't think worked as well. It was also suggested to me that I try to print the crackle plates first and then the priory on top of those. It did produce a very interesting effect, see below, before the priory printing plate has been printed on top.


 A very abstract image was produced in the end, maybe slightly too many layers of crackle!

Some interesting textures were obtained depending on the order of the printing plates and I really like these two images produced.


And a lot of mess was made! 
I'm very inspired to do lots more experimental printmaking now too.

Clare x


Sunday, 10 March 2024

Making a Crackle Printing Plate!

I have been doing a lot of experimenting recently with overlaying a crackle textured printing plate on top of some of my older collagraph printing plates to create some different patterns and age. 

I discovered, by accident, a few years ago a reaction to using two different shiny paints which causes the top coat to crack and then produce fine lines which are an interesting texture to print. These are all completely random so are very fun to produce!

Here's how about making a crackle printing plate:


I use a piece of scrap mountboard cut to size. Then I apply a layer of gloss acrylic medium all over the mountboard. It doesn't have to be too even, infact as uneven as possible seems to produce more interesting cracks!


Once the acrylic medium is completely dry I add a layer of radiator paint (it only works with the cheapest possible radiator paint, this one was about £5 from B & M Bargains) Again this layer doesn't need to be even. The radiator paint then needs to dry out overnight and the reaction is best done in a cold room (I have put the prinitng plates in the fridgeto crackle too!)


A tiny bit of cracking is starting in the corners after a few hours but don't be tempted to touch these plates until at least 24 hours has passed and they are completely dry.


Its hard to photograph the cracks as they are white on white! Heres the finished crackle printing plate all inked up with yellow ochre ink and my Dudley Castle collagraph printing plate ready to be printed.


The castle printing plate goes through the printing press first with the edge of the paper caught slightly under the roller so that I can then align and replace the castle printing plate with the crackle printing plate to print on top of the image.


The crackle plate is then printed on top of the castle image. (As the ink is still wet you can see some residual ink left from the castle on the crackle plate)

Dudley Castle Collagraph Print


I'm only printing these in very small editions, four for this one.


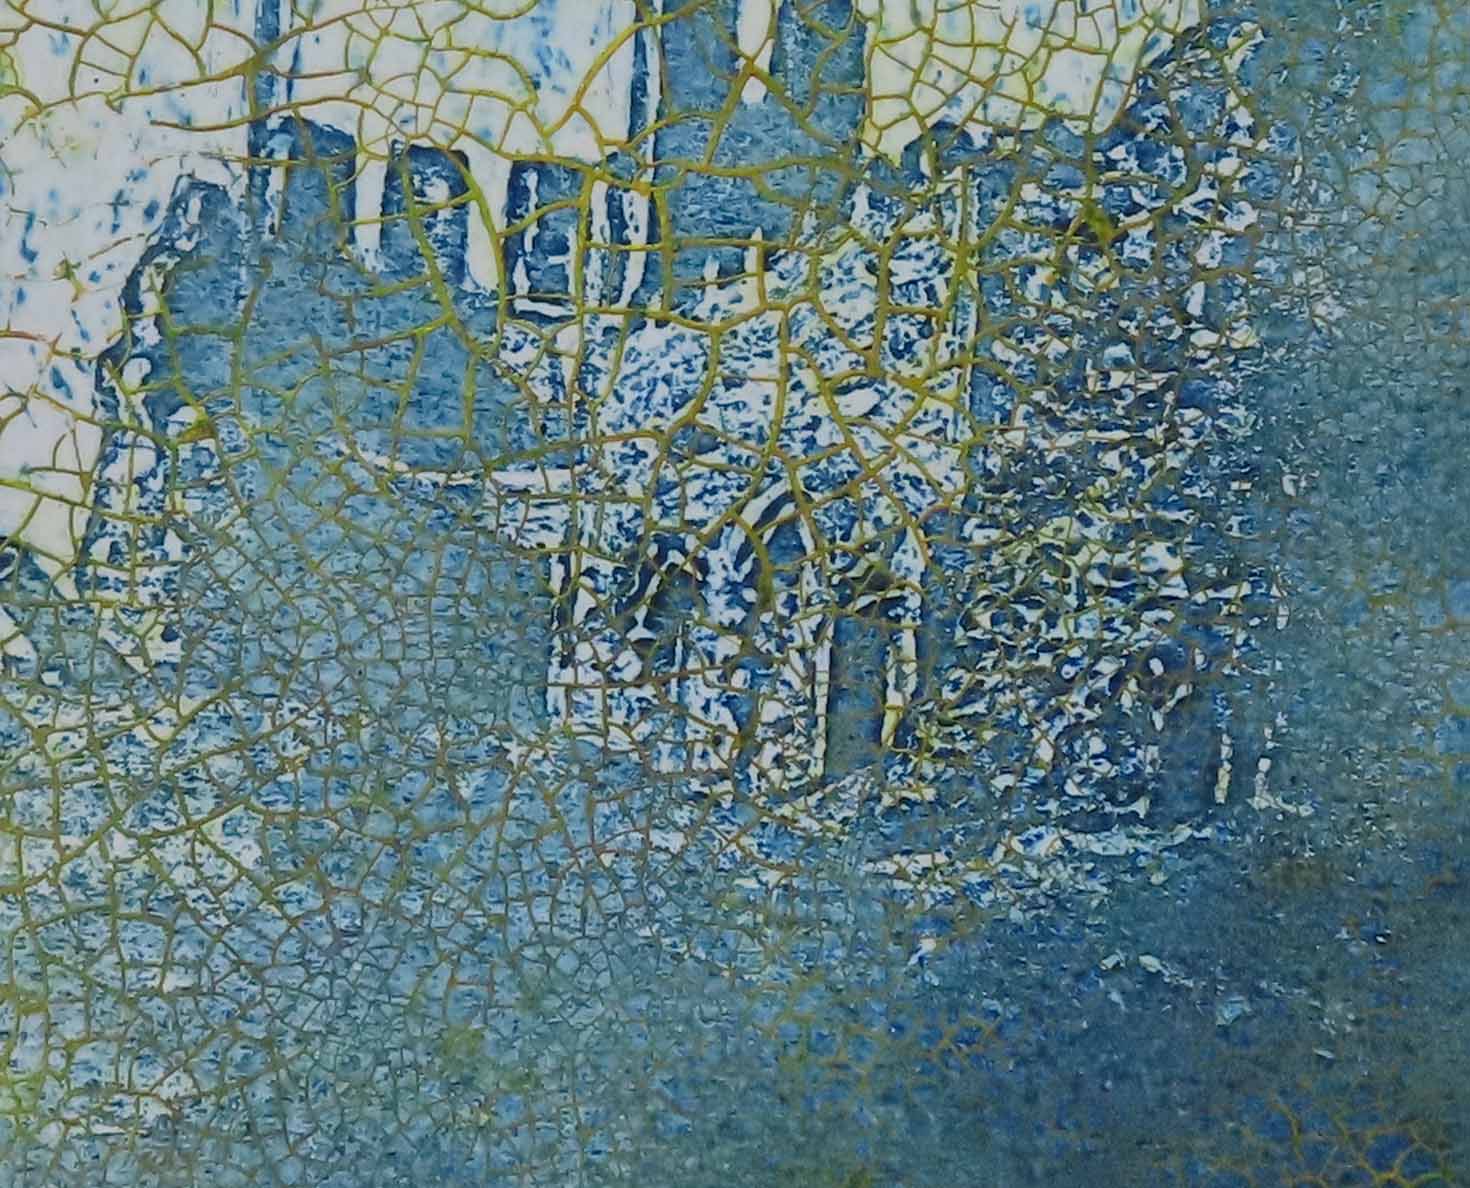
A close up of the finished collagraph print so that you can see the interesting textures created by the crackle plate!

Clare x